
Create Your First C# Console Application in Visual Studio
Follow these steps to create and run a simple C# console application in Visual Studio.
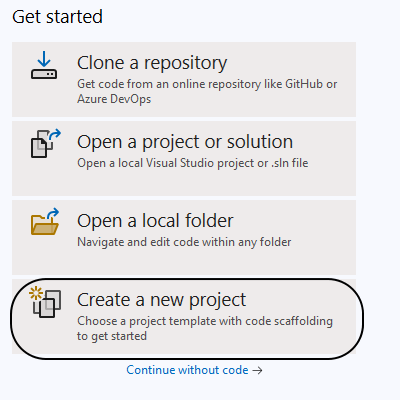
Step 1: Create a New Project
Open Visual Studio and click on Create a New Project.
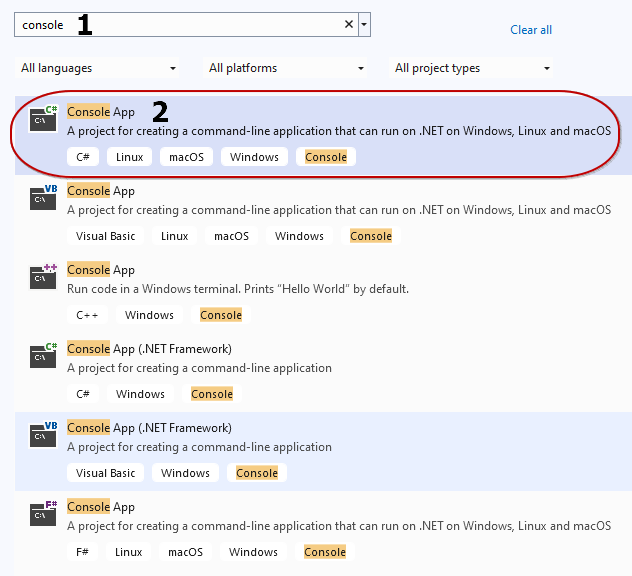
Step 2: Choose the Console App Template
- In the search bar, type Console.
- Select Console App (C#) from the results.
- Click Next at the bottom right of the window.
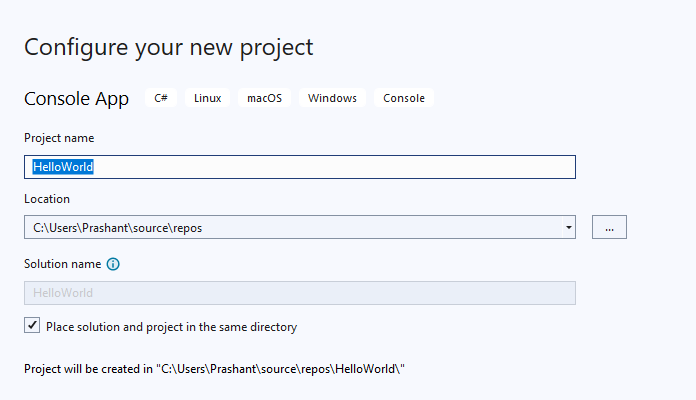
Step 3: Configure Your Project
- Enter your desired Project Name.
- Choose a Location to save your project.
- Click Next.
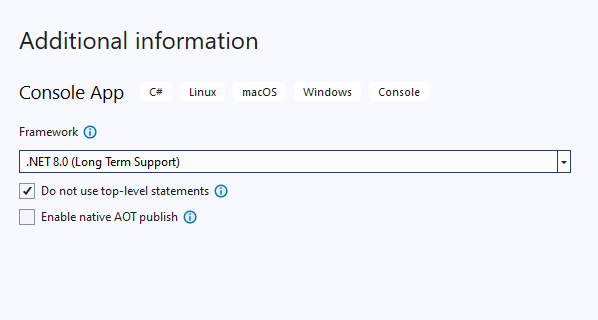
Step 4: Advanced Project Options
- Tick the checkbox for Do not use top-level statements. This allows for a more traditional program structure.
- Click Create.
Note:
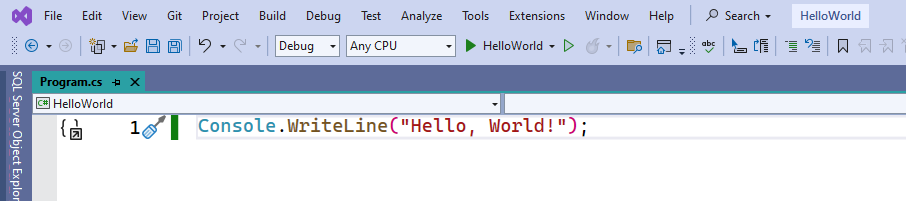
If your code appears as below, it means you have unticked Do not use top-level statements. This doesn’t affect the functionality significantly.
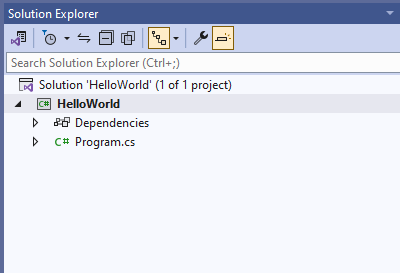
Step 5: Open the Program.cs File
If not already open, double-click on the Program.cs file to open it.
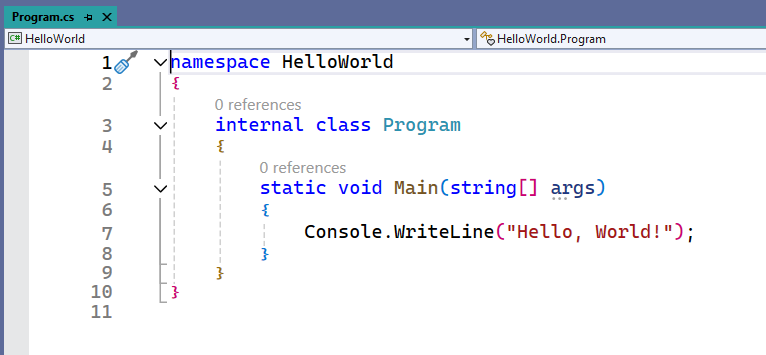
Step 6: Default File Structure
Visual Studio generates a default file structure similar to the image below.
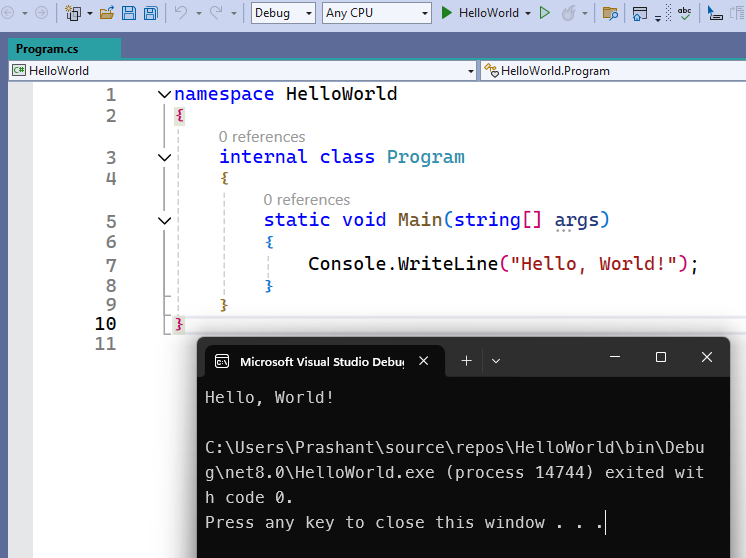
Step 7: Run Your Application
- Click on the green play button (shown as 2 in the image).
- Alternatively, press Ctrl + F5 to run the application.

Step 8: View the Output
Your application will run, and you should see an output window similar to the image below.
| |
Congratulations! You have successfully created and run your first C# console application in Visual Studio. This guide covers the essential steps to get you started with C# development.