
Create a C# Console Application Using the CLI
Follow these steps to create and run a simple C# console application using the command line.
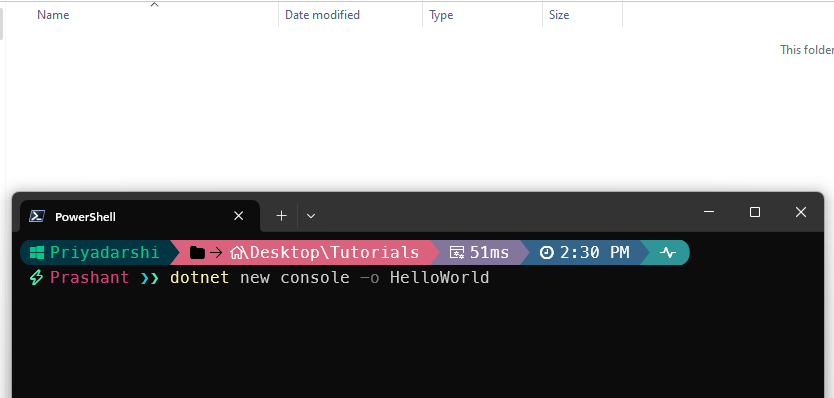
Step 1: Open Terminal and Create a New Project
Open your terminal and type the following command to create a new console application project named “HelloWorld”:
| |
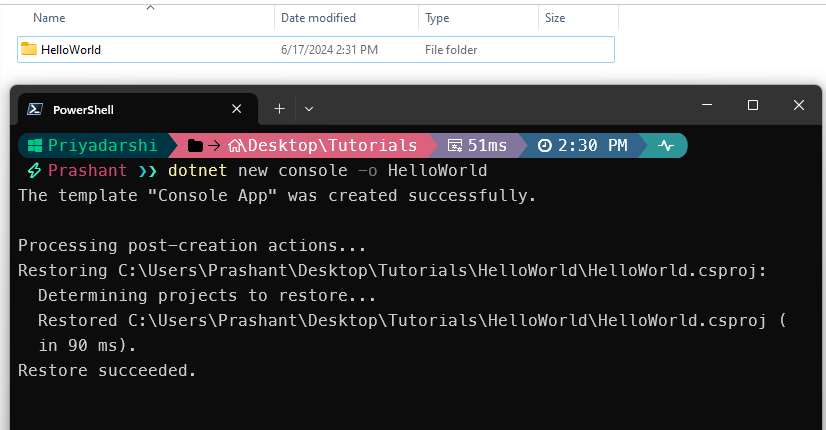
Step 2: Confirm Project Creation
After pressing Enter, the command will generate a new project. You should see a confirmation message similar to the image below.
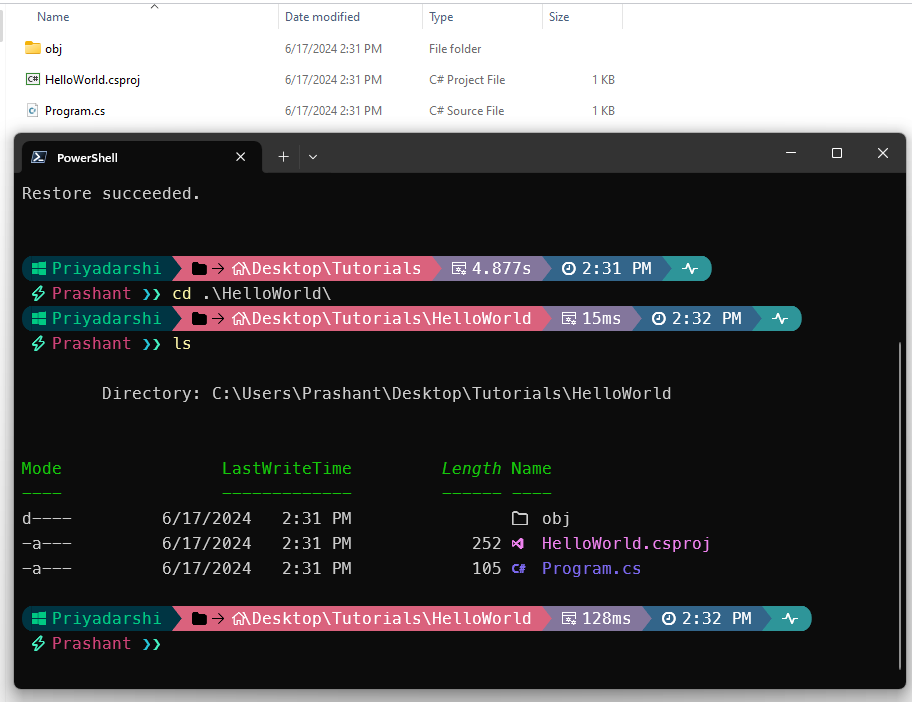
Step 3: Navigate to Your Project Directory
Change your directory to the new project folder. For this example, the folder is named “HelloWorld”. Use the cd command to navigate into the directory, and then list the files with the ls command:
| |
You should see the contents of your project directory, similar to the image below.
Step 4: Run Your Application
Now that you have created the console application, the final step is to run it using the following command:
| |
You will see the output of your application in the terminal, similar to the image below.

Additional Note:
Your terminal may look different because I am using “Oh My Posh” to customize my terminal’s appearance. For more details on how to set up and customize your terminal, check out this amazing video by Scott Hanselman.
Congratulations! You have successfully created and run your first C# console application using the CLI. This guide provides you with the essential steps to get started with .NET development through the terminal.