Using Polyglot Notebook in VS Code Step-by-Step Guide
1. Install Polyglot Notebook
Open VS Code.
Press Control + Shift + X to open the Extensions view.
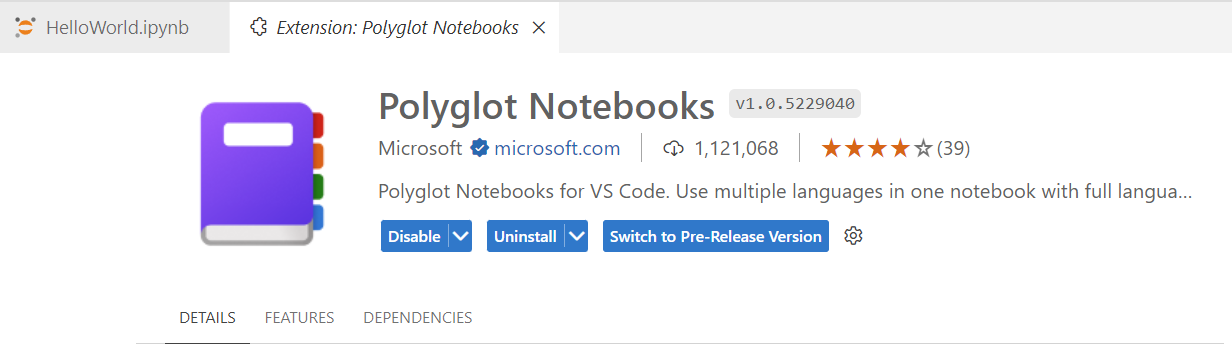
Search for “Polyglot Notebook” or directly open the URL Polyglot Notebook Extension.
Look for the extension logo as shown below and install it.
2. Create a New File
Create a new file named
HelloWorld.ipynbas shown in the image below. Double-click to open the file.Note: The
.dibextension also works, but for this guide, we will use.ipynbonly.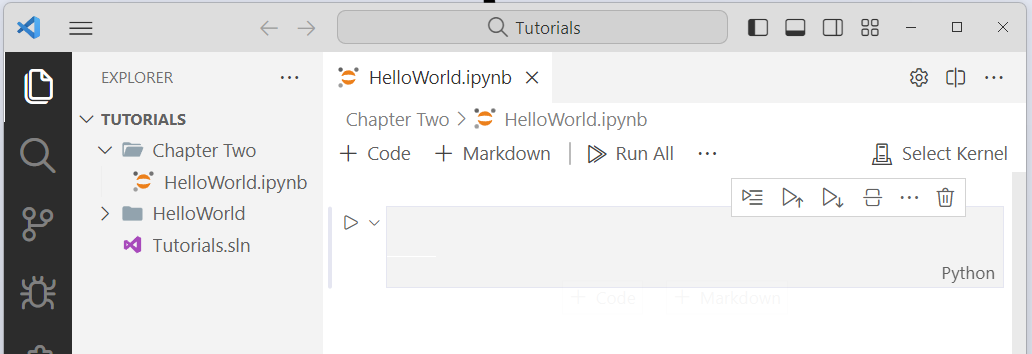
3. Select .NET Interactive Kernel
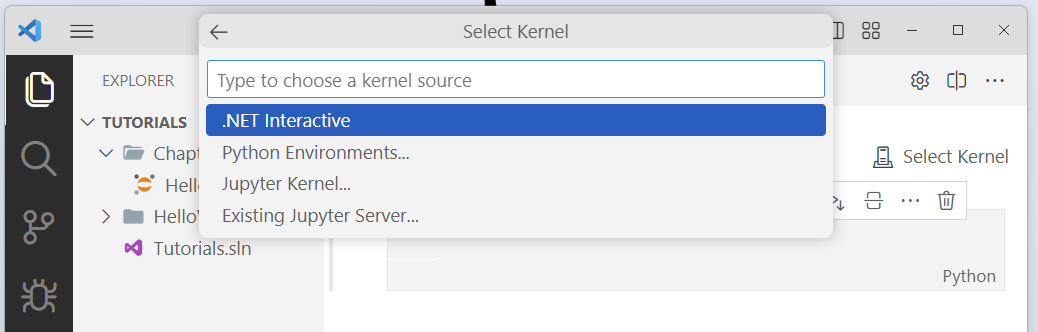
On the right side, click the “Show Kernel” button.
Wait for a few seconds. A list of options will appear.
Select .NET Interactive as your kernel.
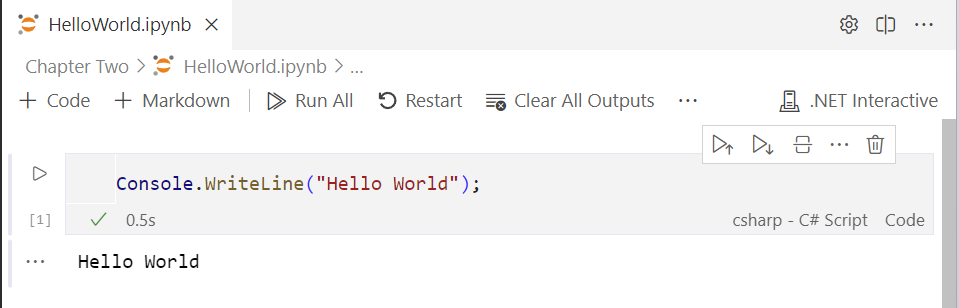
4. Write and Run C# Code
In a code cell, type the following code:
1Console.WriteLine("Hello World");Click on the play button to execute the code. You should see the output “Hello World”.