Getting Started With SkiaSharp
Requirements
- Visual Studio Code (VS Code)
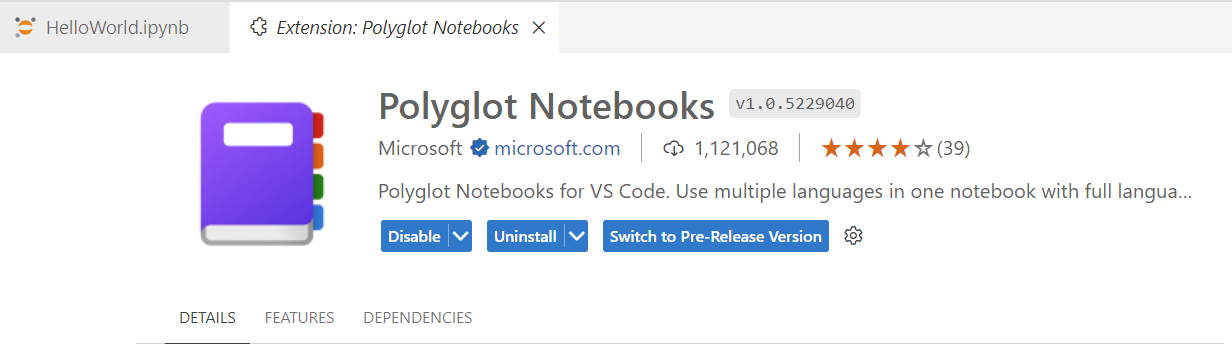
- Polyglot Notebook Extension
- A little bit of experience in C#
Quick Setup
This guide will walk you through the basic setup and usage of SkiaSharp in VS Code.
Step 1: Create a Notebook File
- Open VS Code.
- Create a new file and name it
Basic.ipynbor any name with the extension.ipynbor.dib.
Step 2: Install SkiaSharp Library
In the first cell of your notebook, type the following command to download the SkiaSharp library from the NuGet package repository:
| |

Step 3: Import SkiaSharp Library
In a different cell, import the SkiaSharp library using the following code:
| |

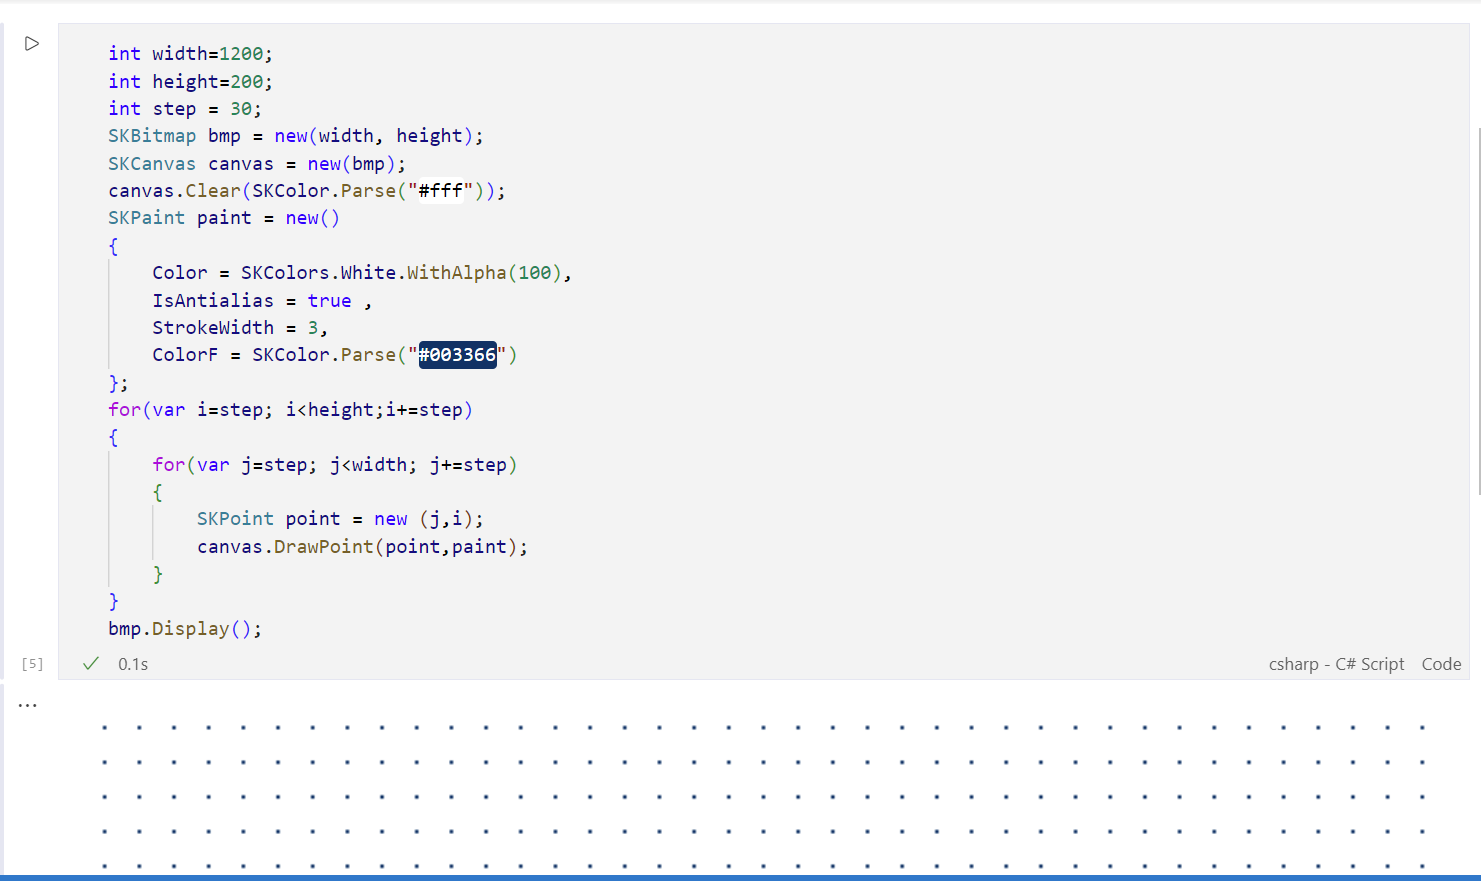
Step 4: Create a Dot Matrix Using SkiaSharp
Now, let’s create a dot matrix using SkiaSharp. Copy and paste the following code into another cell:
| |
Additional Information
For more details on the SKBitmap class and its usage, please refer to the official Microsoft documentation on SKBitmap.
By following these steps, you will have a basic setup for creating graphics with SkiaSharp in a Polyglot Notebook within VS Code. Enjoy exploring the powerful graphics capabilities of SkiaSharp!